You need a passport or visa photo today, and the photo booth is across town. The good news: a phone camera is more than good enough, as long as you get the size, background and framing right. Here is how to take a passport photo at home that gets accepted, step by step.
Rules differ by country and change from time to time. Always check the official requirements of the office you are applying to before you print or upload.
1. Know the size you need
Most rejections start here. The common sizes are:
| Size | Used for |
|---|---|
| 35 × 45 mm | Passports in the UK, the Schengen area and many other countries |
| 2 × 2 inch (51 × 51 mm) | US passport and US visa |
| 3 × 4 cm and 4 × 6 cm | ID cards, student cards and many local documents |
The size is not only the paper size. Each standard also says how large your head should be inside the frame, usually measured from chin to the top of the head.
2. Set up the shot
- Light: stand facing a window in daylight. Avoid overhead lights that throw shadows under your eyes and nose.
- Distance: ask someone to hold the phone about 1 to 1.5 metres away, at eye level. Arm's-length selfies distort the face and are often rejected.
- Pose: look straight at the camera, neutral expression, mouth closed, both ears and eyebrows visible, no glasses unless the rules allow them.
- Clothes: wear something darker than the background you will use, so your outline stays clear.
3. Get the background right
Most countries want a plain white or off-white background, some ask for light blue, grey or red. You do not need a studio wall: a plain door works, and an app can replace the background afterwards as long as the outline of your hair and shoulders is clean.
4. Crop and align
This is the fiddly part. Your head must be centred and sized within the limits, with the eyes at the right height. Doing it by hand in a photo editor is slow and easy to get wrong by a few millimetres.
5. Print or upload
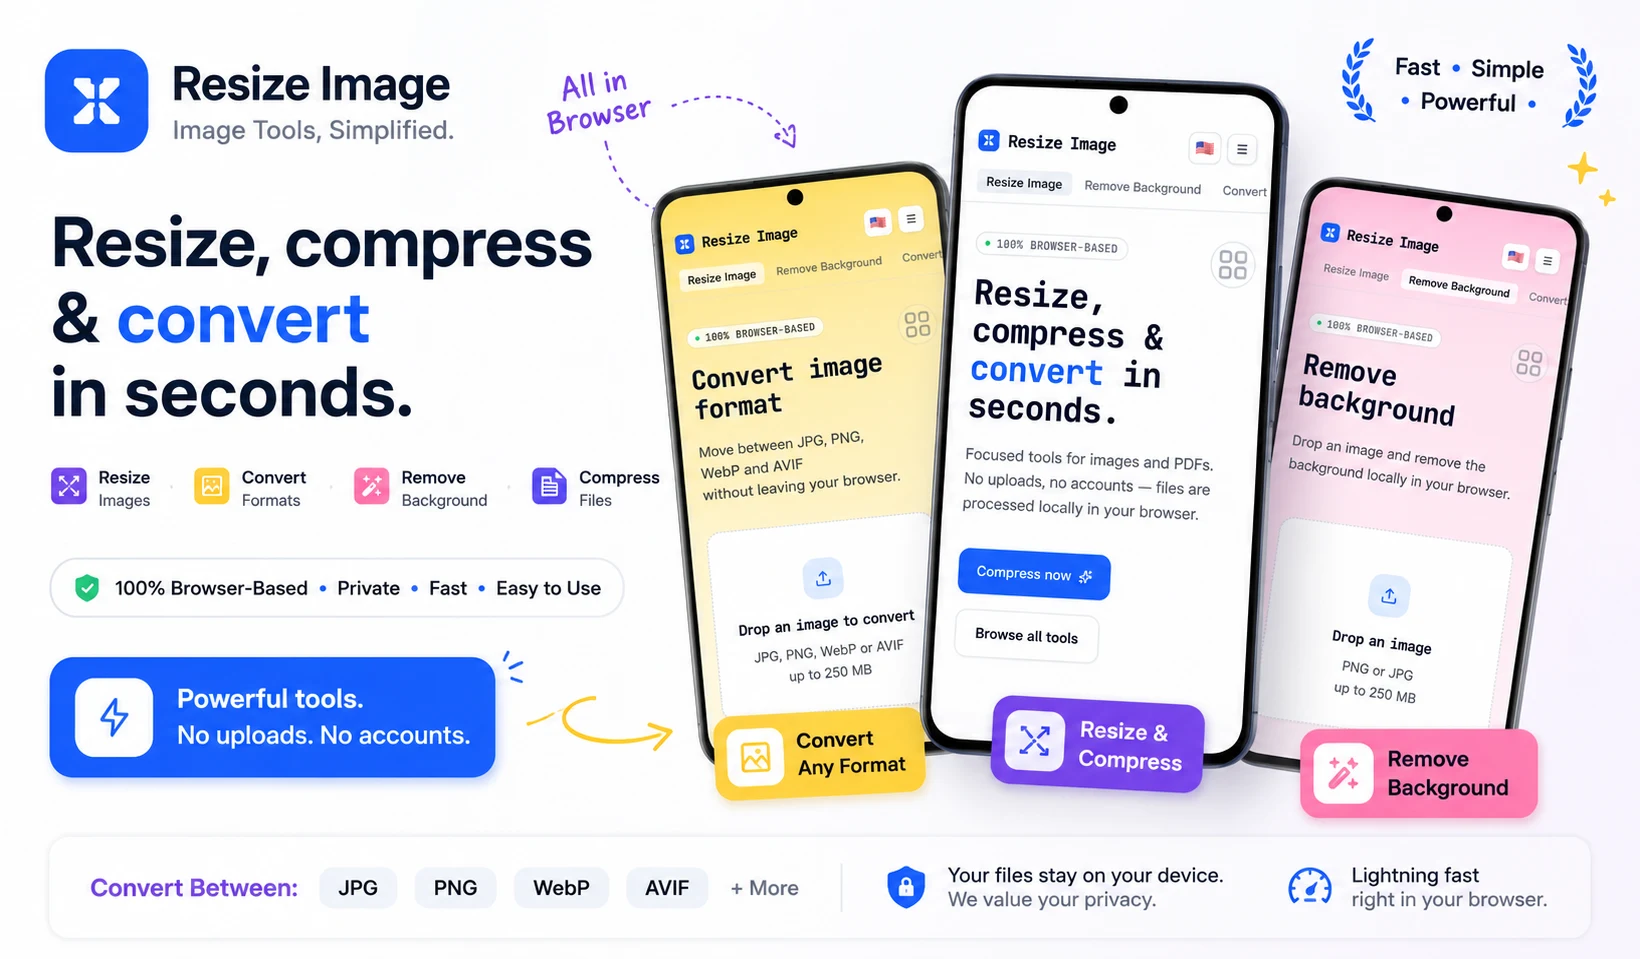
For a paper application, put several copies on one 10 × 15 cm (4 × 6 inch) sheet and print it at any photo kiosk or pharmacy. It is usually far cheaper than a booth. For an online application, export a single photo and check the file size limit of the form. Many portals reject large files, so you may need to compress it.
Common reasons photos get rejected
- Shadows on the face or the background
- Head too small or too large in the frame
- Tilted head or not looking straight at the camera
- Filters, beauty mode or heavy editing
- File too large for the upload form
Doing it in one app
We built PixPDF to handle the whole process on your phone. Take a selfie or pick a photo, and it removes the background automatically and lets you choose white, blue, light blue, grey or red. It has preset sizes (35 × 45 mm, 2 × 2 inch, 3 × 4 cm, 4 × 6 cm, 5 × 7 cm), guide lines for the top of the head and the chin, and auto-align. You can save a single photo or a ready-to-print 10 × 15 cm sheet, and compress it if a form has a size limit. Everything is processed on your device, so your photo is never uploaded.